
Documentation
- Getting Started
- Create a template
- Create passes
- Pass functionality
- Google Wallet
- Push Notifications and Updates
- Updating passes (and sending push notifications)
- About Wallet Push Notifications
- Sending an update to a single pass
- Updating all passes of a template
- Segmentation using Saved Searches
- Sending a message as Push Notification
- Testing Push Notifications
- Location based notifications – troubleshooting
- Troubleshooting Push Notifications on Android
- Sending Wallet passes
- Analytics
- Integrating third party systems
- Certificates
- Smart Scan App
- Selling passes
- NFC Passes
- White Labeling
- Users and permissions
- Pass Bundles
Changing the way data is displayed after scanning a pass
After a pass has been scanned using the Smart Scan app you’ll see the personalised data of the pass. To do this we simply use the data in the order it is stored within gifttowallet.
If you have lots of personalised fields on your passes this might not be sufficient to quickly see the most important fields.
If you want to change how data is displayed there, edit the template that your passes are based on. On the Pass Info tab, go to Extended options.
There’s a field called “Custom data overview for list view” that allows you to enter placeholders of your additional properties.
For example, if you only want to display the first name and the email address after a pass has been scanned, you can enter this:
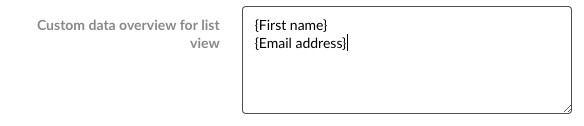
This will replace the default data view.