Documentation
- Getting Started
- Create a template
- Create passes
- Pass functionality
- Google Wallet
- Push Notifications and Updates
- Updating passes (and sending push notifications)
- About Wallet Push Notifications
- Sending an update to a single pass
- Updating all passes of a template
- Segmentation using Saved Searches
- Sending a message as Push Notification
- Testing Push Notifications
- Location based notifications – troubleshooting
- Troubleshooting Push Notifications on Android
- Sending Wallet passes
- Analytics
- Integrating third party systems
- Certificates
- Smart Scan App
- Selling passes
- NFC Passes
- White Labeling
- Users and permissions
- Pass Bundles
Personalisation
Using additional properties to personalise your pass
Additional properties are a way to personalise your passes. You define what fields are different for each pass and can then use them anywhere on your pass as placeholders. When creating a pass, gifttowallet will ask for the properties you’ve defined and automatically replace the placeholders with the actual values.
You don’t necessarily have to use the placeholders visibly for your users. This also allows you to store metadata you need, e.g. the contact number from your CRM that you can then use to search for.
To create an additional property, edit your pass template, click on the tab “Additional properties” and add a new field. You need to specify a name for the property that can be used as a placeholder elsewhere on your template as well as a field type.
Additional properties are also important if you want to send your passes using SMS or Email since these fields are used to store the email address or phone number of your users.
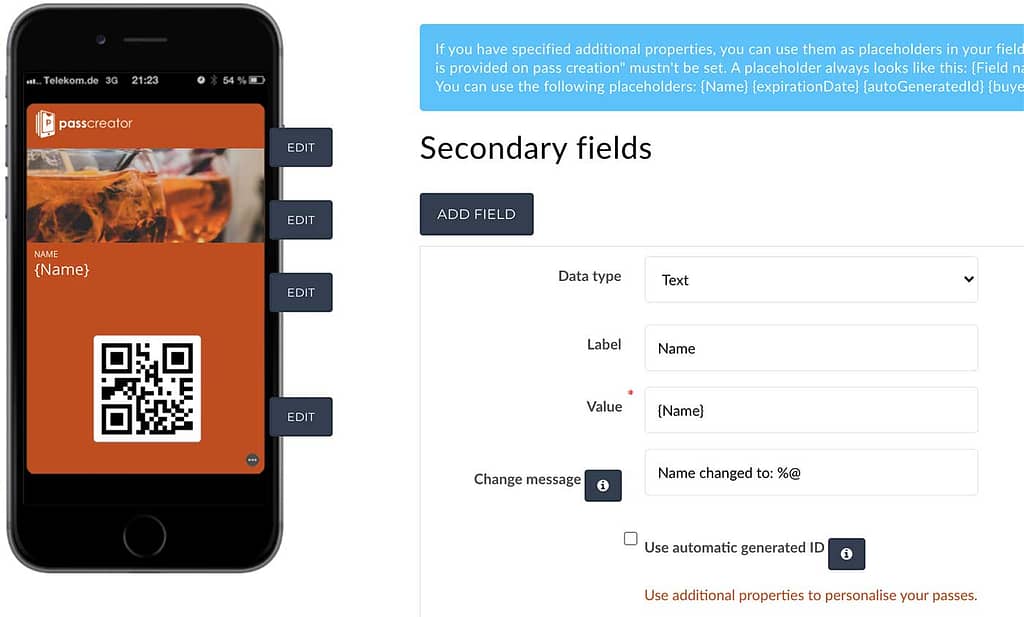
If you create an additional property with the name “Name”, the placeholder you need to use is {Name}.

