Documentation
- Getting Started
- Create a template
- Create passes
- Pass functionality
- Google Wallet
- Push Notifications and Updates
- Updating passes (and sending push notifications)
- About Wallet Push Notifications
- Sending an update to a single pass
- Updating all passes of a template
- Segmentation using Saved Searches
- Sending a message as Push Notification
- Testing Push Notifications
- Location based notifications – troubleshooting
- Troubleshooting Push Notifications on Android
- Sending Wallet passes
- Analytics
- Integrating third party systems
- Certificates
- Smart Scan App
- Selling passes
- NFC Passes
- White Labeling
- Users and permissions
- Pass Bundles
Creating an email template
To create an Email template, log in to gifttowallet and click on “Send passes” and “Email templates” in the menu or use this link.
You first need to specify a name for the template. This name is just for you to identify the template later.
You’ll then see the email editor including a default layout that you can change to your needs. You’re also able to import existing templates from other newsletter tools and continue editing them in gifttowallet.
The initial email layout also contains instructions on how to use the editor. All emails created with our editor are responsive (optimised for mobile devices) automatically.
You can use all personalised fields of your Wallet passes as placeholders in the email. E.g. if there’s a field that contains the first name of a user and the label of that field is “First name” you can just insert {First name} as a placeholder. When the email is sent, this placeholder is automatically replaced with the actual value. Above the editor you can select one of your templates and you’ll see a list of valid placeholders.
Sending test mails
If you want to send an actual test email you can do so by scrolling down. The form to send a test mail is below the editor.Using the editor
The following describes the different elements of the email editor in gifttowallet.
Device preview
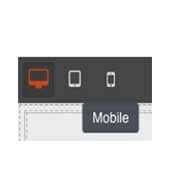
By clicking on one of the icons you can see how your email will look on different screen sizes.
Add elements using Drag & Drop
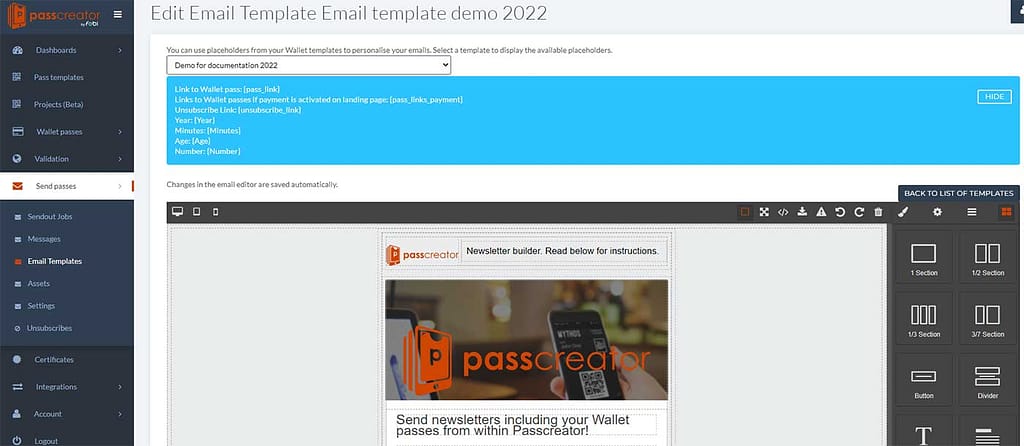
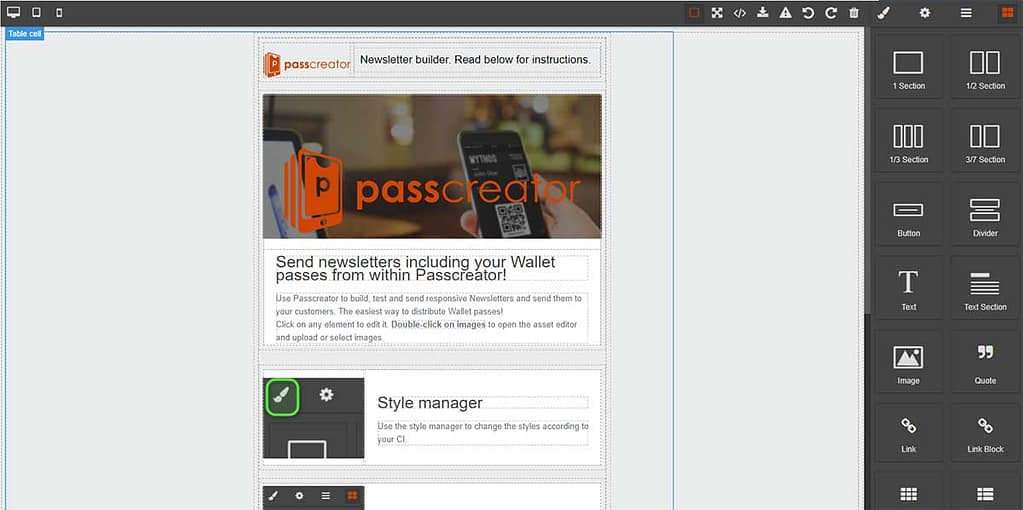
You can add new elements by clicking on the "Add elements" icon and then dragging them at the place of the email where you want to see them.
Style editor
To change the styling of an element (font-size, font-family, colors, margins etc.), click on the element in the email and click on the icon of the Style editor. It will automatically show you the options that are available.
Change settings of an element
If you want to change the settings of an element (e.g. the target of a link), click on the element in the email editor surface and on the settings editor. You'll see the available options and are able to change them.
Open Layer Manager
If you need to know the structure that the editor has created in the background you can see the HTML elements by clicking on the Open Layer Manager icon. If you select an element it will be highlighted in the email as well.
View components
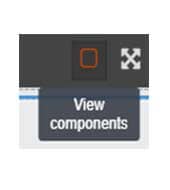
By default the editor shows dotted borders around every element to make it easier for you to identify the different parts of your template. If you want to hide them, click on the icon you see on the right. If you want to see the borders again, click on the icon once again.
Fullscreen
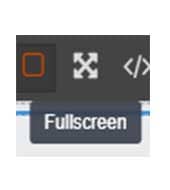
You can use the email editor in fullscreen mode. To enable the fullscreen mode, click on the icon. To exit fullscreen mode, tap on the Esc button on your keyboard.
View code
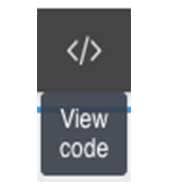
To view the HTML code, generated by the editor, click on the View code icon.
Import template
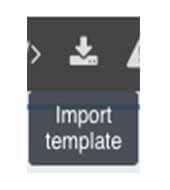
If you have an email template you want to use within gifttowallet, you can paste the HTML code by clicking on the "Import template" icon.
Toggle images
Some email clients like Outlook don't display images in emails by default. If you want to get a preview of how your mail looks when a user hasn't enabled images in his email client, click on the Toggle images icon.
Undo
Undoes the last changes you made. This only works within the current session which means that if you leave the editor page the change history isn't available anymore.
Redo
Redoes the last changes you made. This only works within the current session which means that if you leave the editor page the change history isn't available anymore.
Reset template
This button resets the template so you can start from a clean slate.