Documentation
- Getting Started
- Create a template
- Create passes
- Pass functionality
- Google Wallet
- Push Notifications and Updates
- Updating passes (and sending push notifications)
- About Wallet Push Notifications
- Sending an update to a single pass
- Updating all passes of a template
- Segmentation using Saved Searches
- Sending a message as Push Notification
- Testing Push Notifications
- Location based notifications – troubleshooting
- Troubleshooting Push Notifications on Android
- Sending Wallet passes
- Analytics
- Integrating third party systems
- Certificates
- Smart Scan App
- Selling passes
- NFC Passes
- White Labeling
- Users and permissions
- Pass Bundles
Updating a certificate
You need a paid Apple Developer account to create Pass Type IDs and certificates. If you don’t have one, you can enroll here: https://developer.apple.com/enroll
To update an existing certificate, you need to create a new certificate for your Pass Type ID in the Apple Developer portal and upload it on gifttowallet.
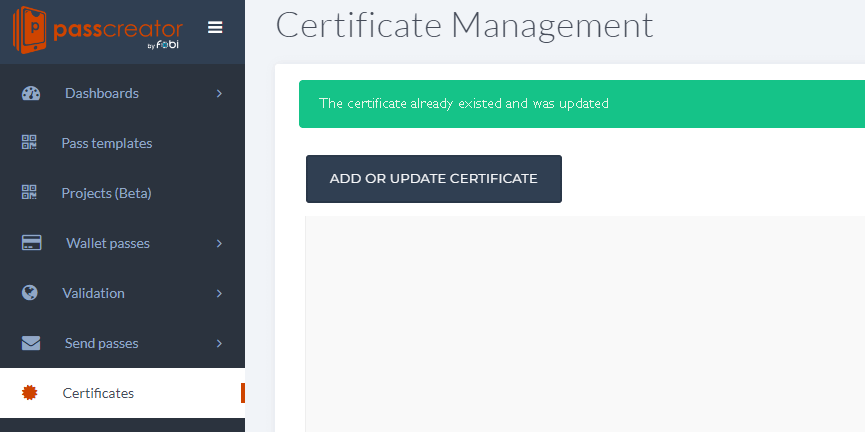
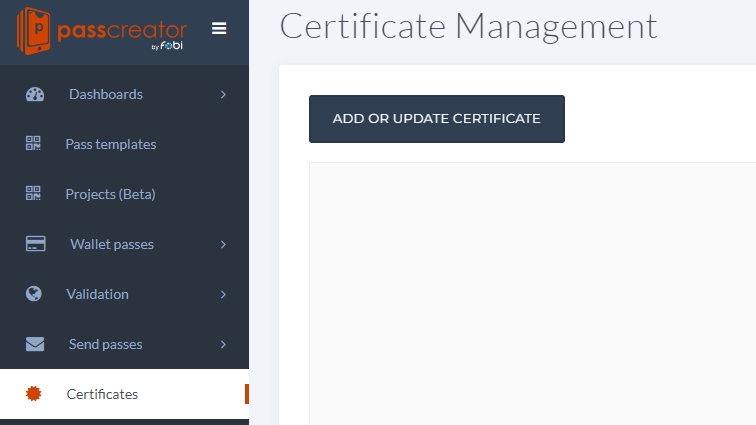
To do this, first go to the certificate section of gifttowallet
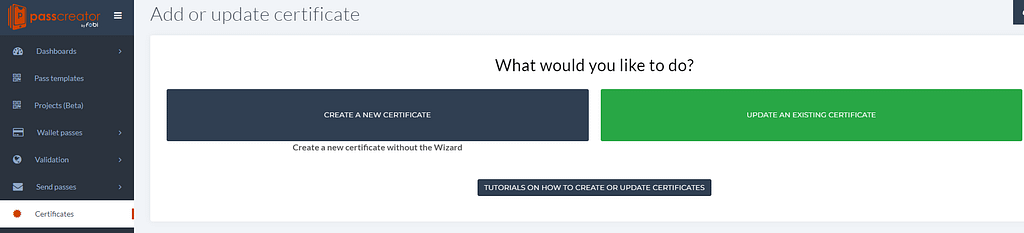
Copy the Pass Type ID (the name next to the icon in the list of certificates) whose certificate you want to update and click on “Add or update certificate”.
Click on “Update an existing certificate” on the next page.
After logging in on the Apple Developer Portal, click on “Certificates, Identifiers & Profiles”.

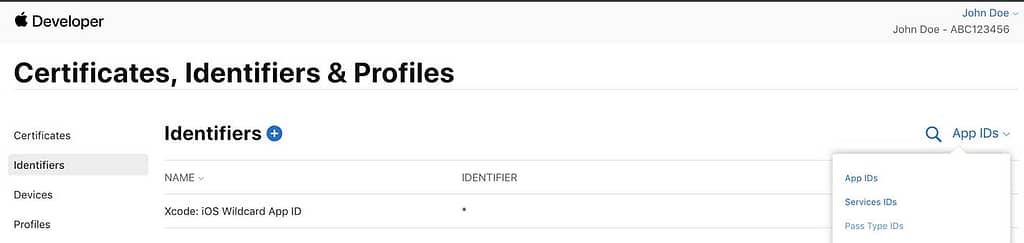
Now click on “Identifiers” in the menu on the left and click on “All Types” on the upper right. Click on “Pass Type IDs” to filter for Pass Type IDs. Look for the Pass Type ID whose certificate you want to update. Click on the entry in the list of Pass Type IDs.
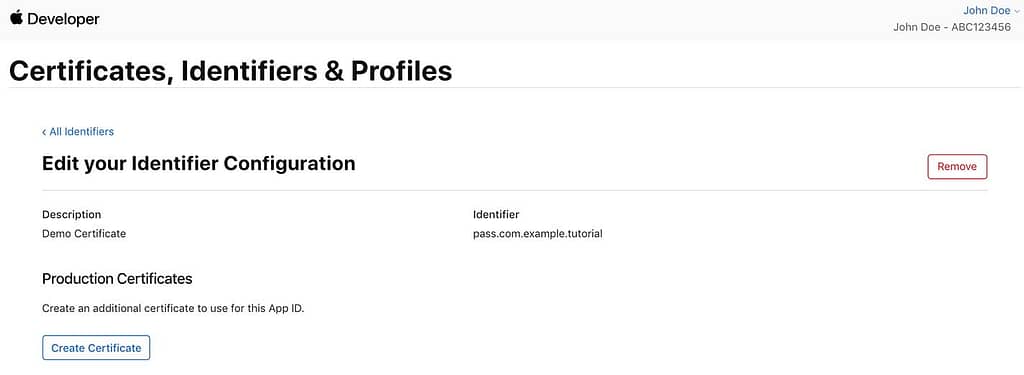
Now you’ll see existing certificates alongside a button to create a new certificate. Click on “Create Certificate”.

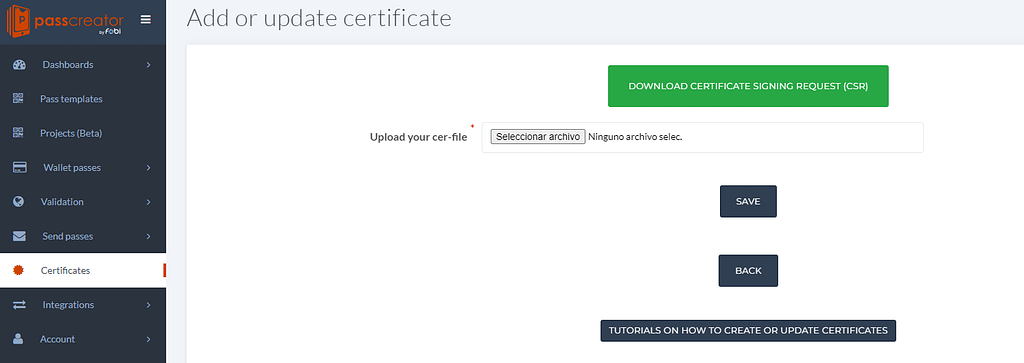
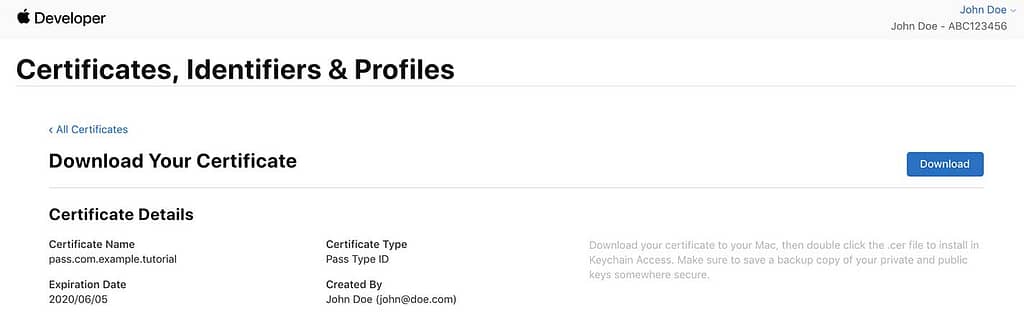
Apple now creates the new certificate and shows a page where you can download it. Click on the “Download” button to download your certificate.
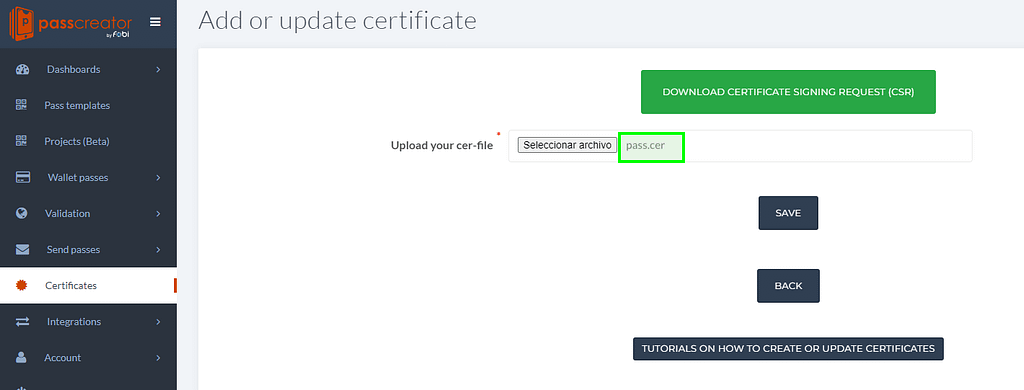
Since you’ve updated an existing certificate, the system will tell you that you’ve updated it.