Documentation
- Getting Started
- Create a template
- Create passes
- Pass functionality
- Google Wallet
- Push Notifications and Updates
- Updating passes (and sending push notifications)
- About Wallet Push Notifications
- Sending an update to a single pass
- Updating all passes of a template
- Segmentation using Saved Searches
- Sending a message as Push Notification
- Testing Push Notifications
- Location based notifications – troubleshooting
- Troubleshooting Push Notifications on Android
- Sending Wallet passes
- Analytics
- Integrating third party systems
- Certificates
- Smart Scan App
- Selling passes
- NFC Passes
- White Labeling
- Users and permissions
- Pass Bundles
Segmentation using Saved Searches
Saved searches are a way of creating segments amongst your existing passes.
You can use saved searches to find a certain subset of your passes quicker and also send notifications to all passes that are returned by a search.
Saved searches are dynamic. This means that if a new pass is created and matches search criteria, it will be part of the result set returned by a search.
Create a saved search
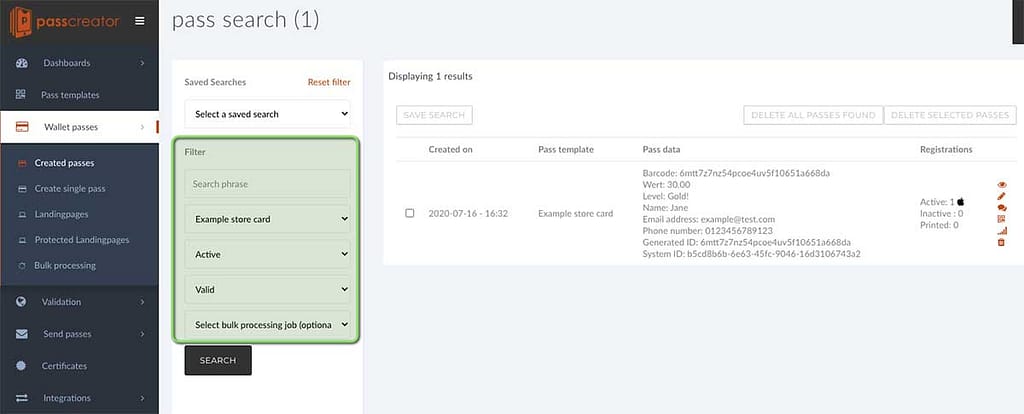
To create a saved search, go to the list of created passes and search using the filters on the left.
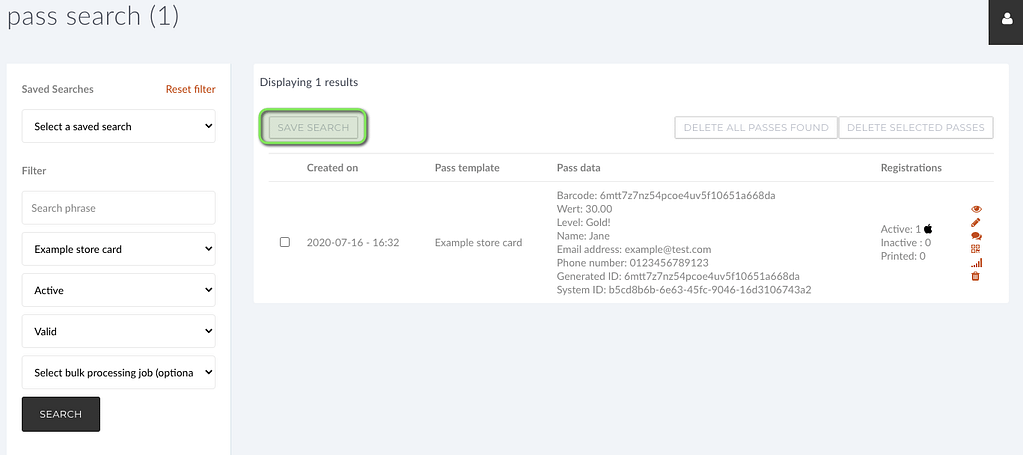
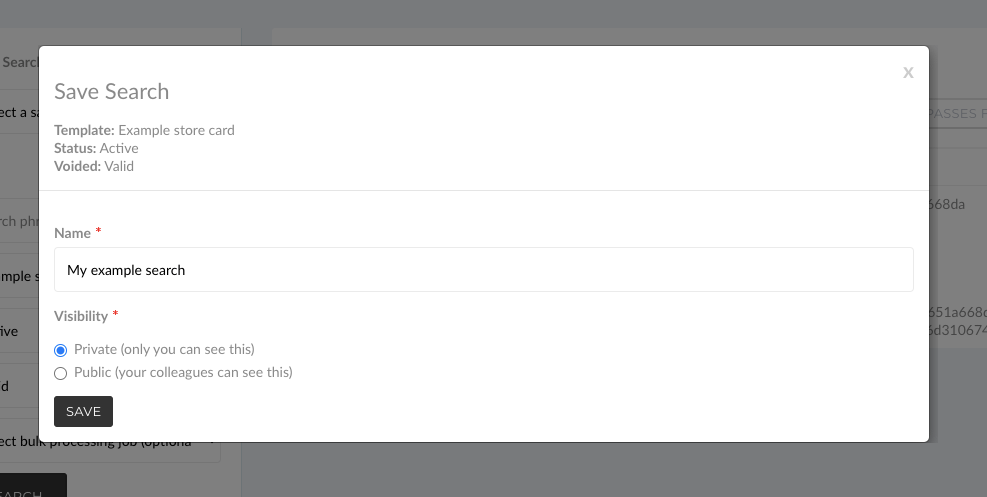
If you want to save the search, click on “Save search” and specify the data that you’re asked for.
You can only create public searches that are available to your colleagues as well if you have the “Customer Administrator” permission. If you have less permissions, you can only create saved searches for yourself.


After clicking on “Save”, the saved search is available to you anytime you visit the list of created passes.
If you select it, the filter criteria will be applied automatically.
